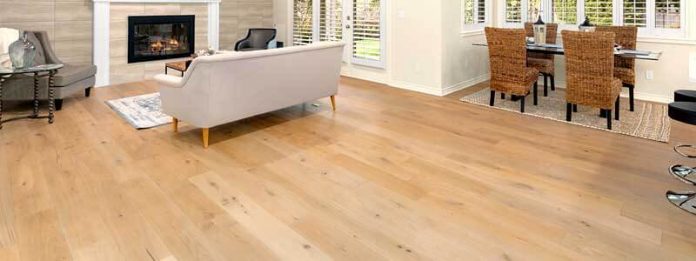
A wooden floor has numerous benefits, not the least of which is its natural, non-toxic beauty. It’s also easier to clean than carpet and contains less germs and dust mites, making it a healthier choice for allergy sufferers. If you are looking for how to varnish a wooden floor here are some tips to follow:
- Only varnish on a dry, clear surface; any staining must be totally dried, and the floor must be brushed or vacuumed to eliminate any traces.
- Never try to paint a floor while the furniture is still in the room; instead, remove everything so that you can work in a clear area.
- Always follow the manufacturer’s application and safety recommendations.
- To avoid a build-up of fumes, make sure there is sufficient ventilation.
- Remember that while you will need to ventilate the room, you do not want dust to settle on your varnish, so choose a time when there will be little or no wind.
- Always begin on the far side of the door and work your way back, so you may leave the room without stepping on your work.
- You don’t want to mark the wood before you varnish it, so always wear soft, clean shoes.
- Concentrate on one or two floorboards at a time, moving along their length to avoid overlapping onto adjacent floorboards. Finish to the end of a floorboard if you have to stop and abandon the project for any reason.
- Remember that varnishing a floor is not the same as varnishing a piece of antique furniture; most people are standing approximately 2 meters away from the floor, so any unevenness or dust will be invisible.
- Remember that varnish needs to be applied in temperatures of at least 20°C (70°F), so choose a warm spell with the window open for air.
- Remember that varnish dries slowly in high humidity, so depending on the conditions, leave less or more time between layers.
Varnishing first coat
Thin the first layer of varnish with the proper thinner this coat will work as a sealer on the wood, forming a link between the wood and the future layers of varnish.
Last few layers of varnish
Check the manufacturer’s directions, but at least three further coats of un-thinned varnish are usually required. Use a 10cm (4 inch) brush to apply the varnish across the grain and then along the grain for these coats; once the varnish has started to cure, don’t go back over it with the brush since the brush marks will remain.
Waiting for the varnish to cure
Don’t rush to start using the floor; the varnish maker may recommend waiting 72 hours before moving in furniture.
Re-varnish
If a varnished floor is in good shape, it can be refinished without completely removing the original finish. Any damage to the original surface may be visible, and the final appearance may not be as nice as if the entire floor had been stripped, sanded, and entirely re-varnished.

